-->

Thursday, November 18, 2010

Tulip Quilt Finished

The quilt is very simple:
  •   Crop applique to about 8 by 9 1/2 inches.
  •   Cut 1 1/4 inch strips to frame applique. (finishes at 3/4) 
  •   Cut borders 3 inches wide and corners at 3 by 3.
  •   Baste waste canvas to cross stitch areas.
  •   Stitch on date and your initials.  Pull out canvas threads.
  •   Layer backing, batting and top. 
  •   Baste, quilt, and bind. 


 My quilt is quilted in the ditch on both sides of the inner border and around the corner squares.  There is a cross hatch on the applique and the flower is outlined.  I bound it next and then quilted the corner squares.  I may still do some quilting on the green border.  Finished quilt measures 14 by 15 1/4.


All done!

Bobbie
 

Thursday, November 11, 2010

A Companion Quilt

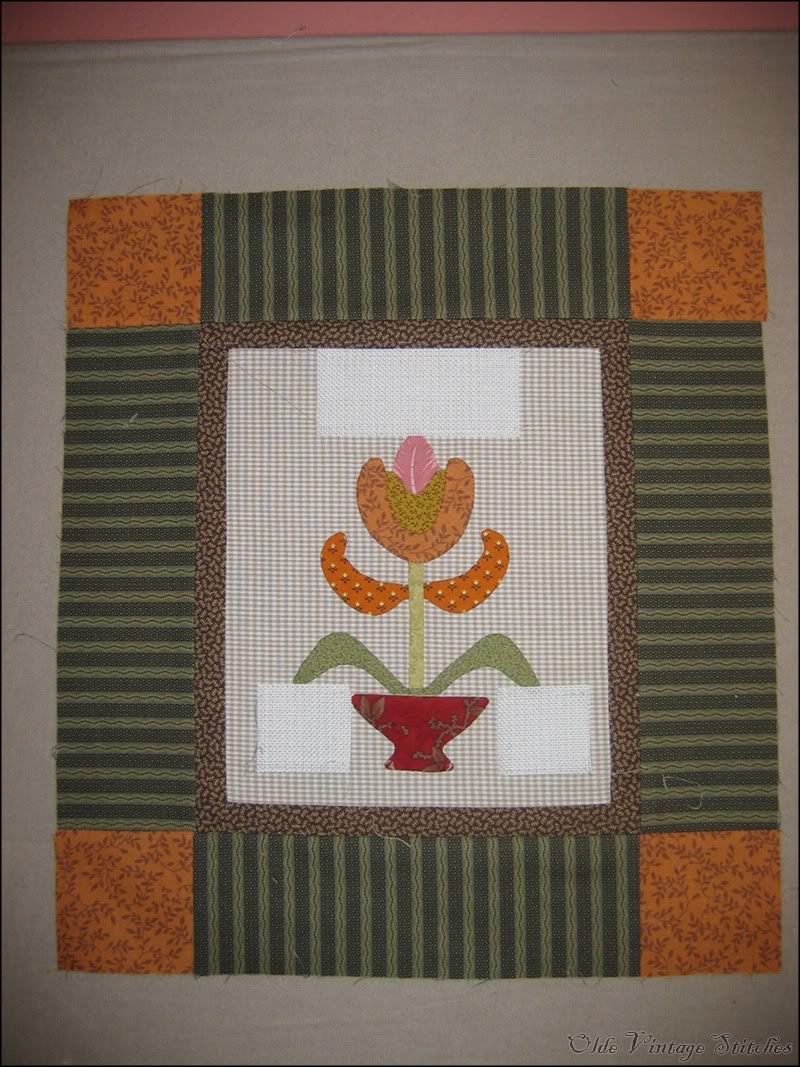
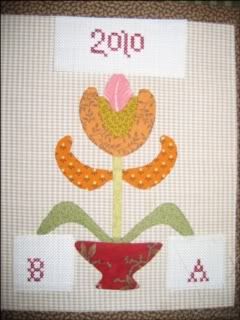
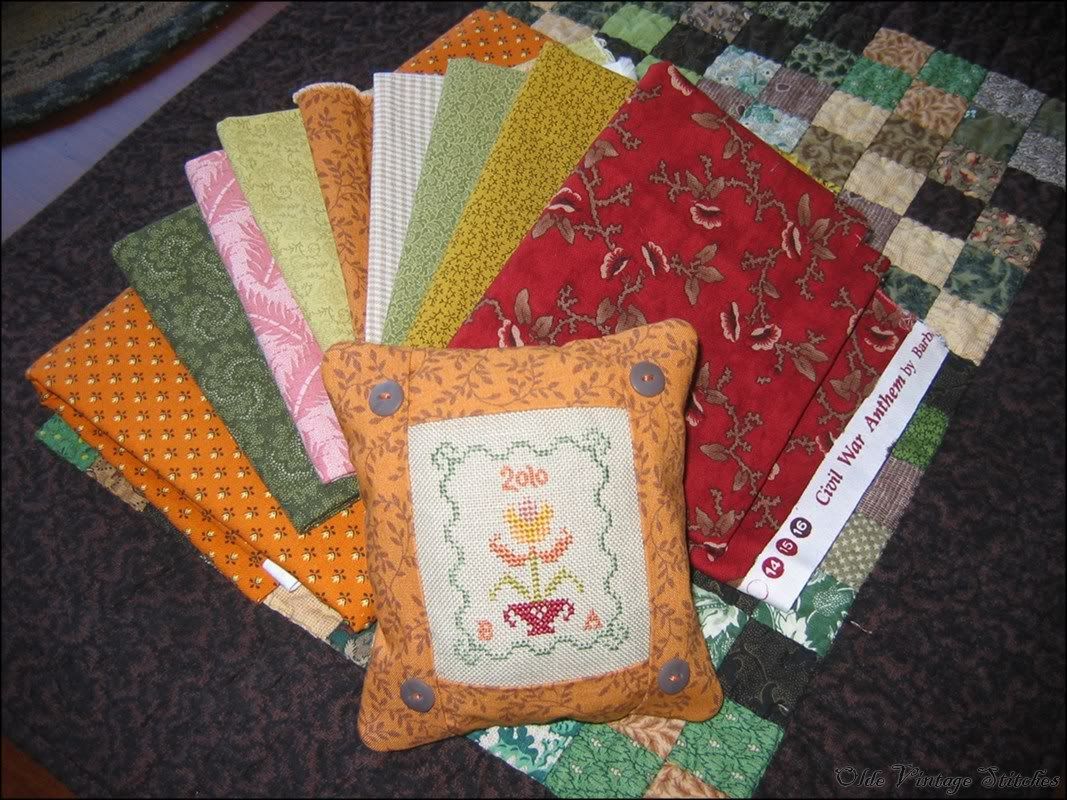
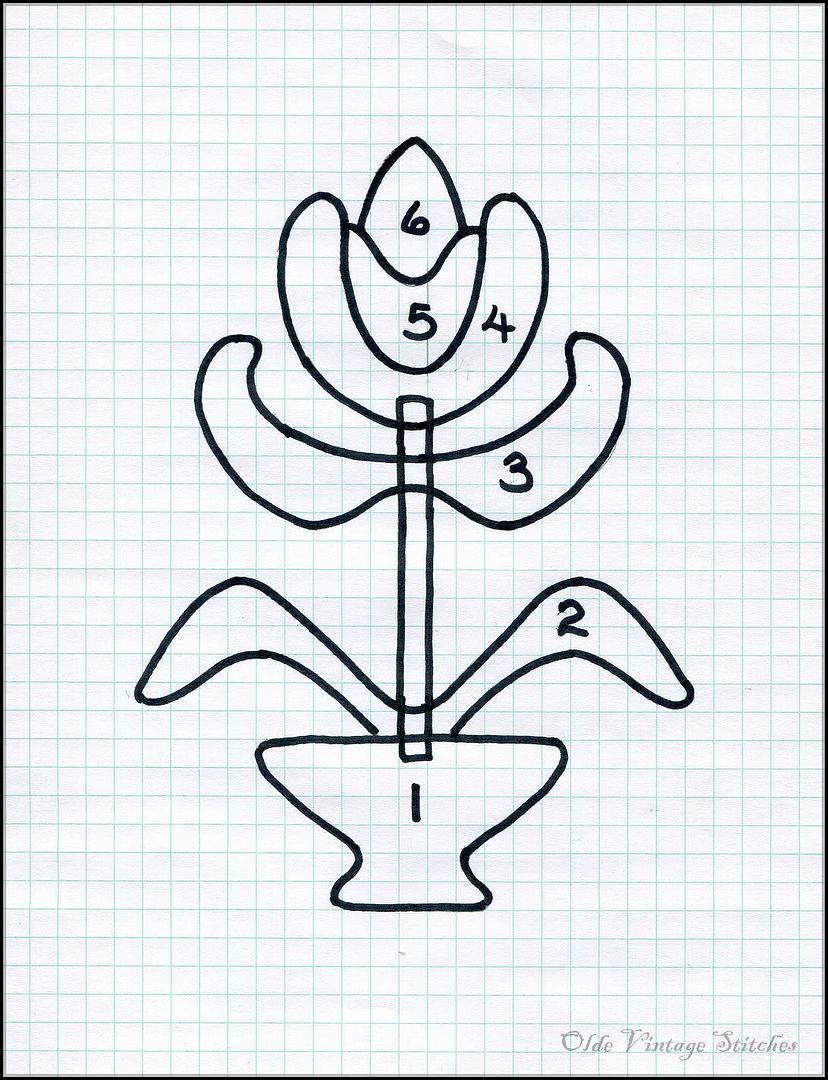
I am making a small applique quilt to go along with my Tiny Tulip cushion.


Use your favorite applique method. 

I like to use freezer paper to cut out my applique pieces.  I use a White Marking Pen by CLOVER to mark the sewing line. 

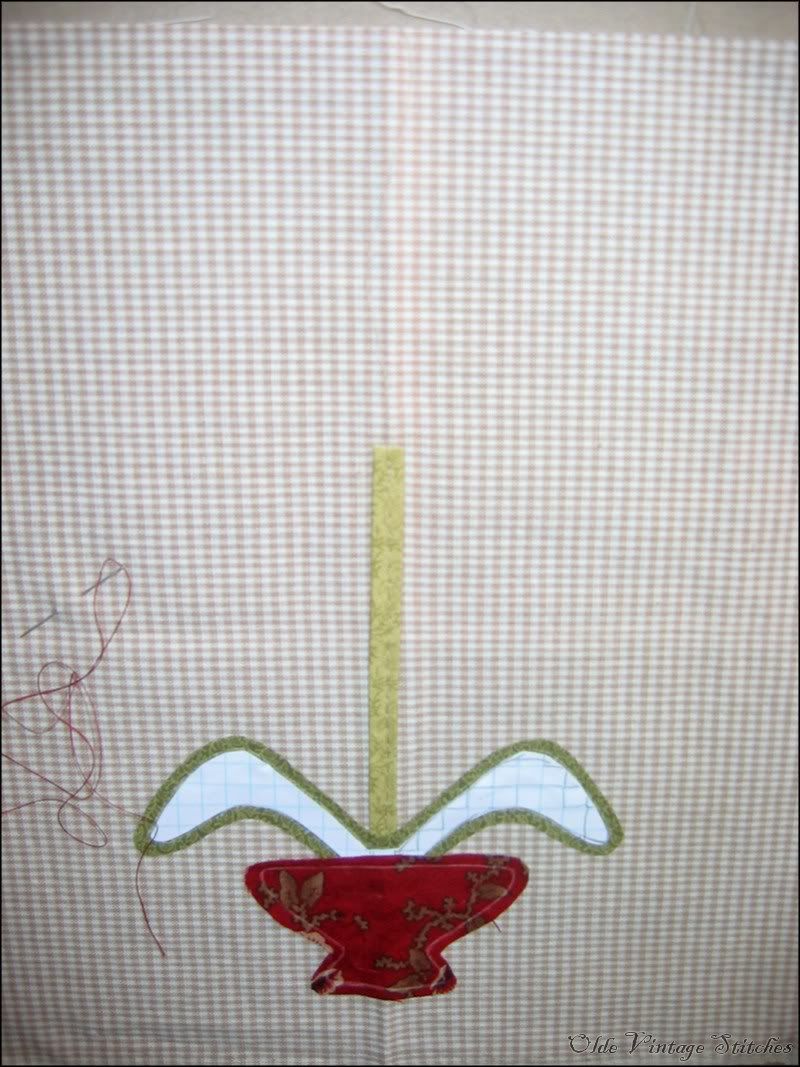
Make a stem for the tulip by cutting a piece of green fabric 5 inches long by 3/4 inch wide. Press under about a quarter  inch on each side of the length of the fabric to make a quarter inch stem. 

Cut the background for the applique a little oversized.  Mine was about 9 by 12 inches.  Fold the fabric in half lengthwise and press lightly to form a crease that will help with placement. 


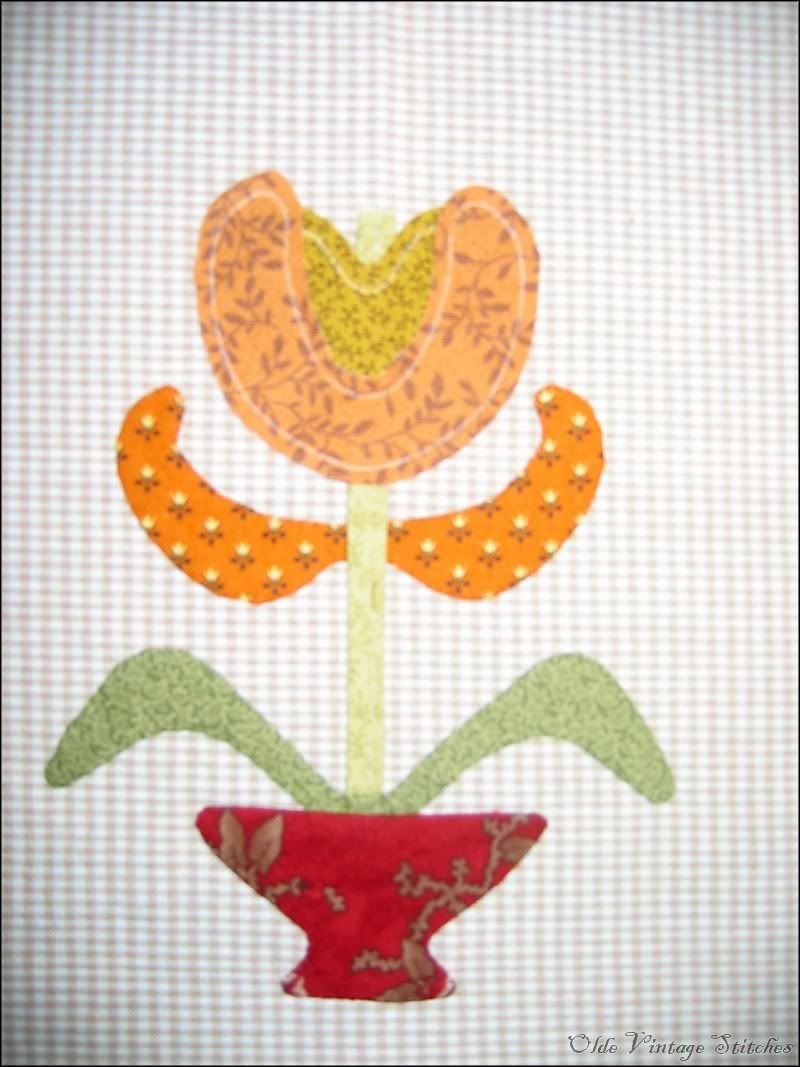
Join me next time as I piece the quilt top together....

Bobbie

My First Post!

Hello.  I would like to share with you a little project that I stitched up yesterday.  I call it Tiny Tulip.


Bobbie